MOONPIG GROUP
Below is a rundown of the process while working at Moonpig, which involved using their custom software as well as the Adobe suite to set up artwork for print and online.
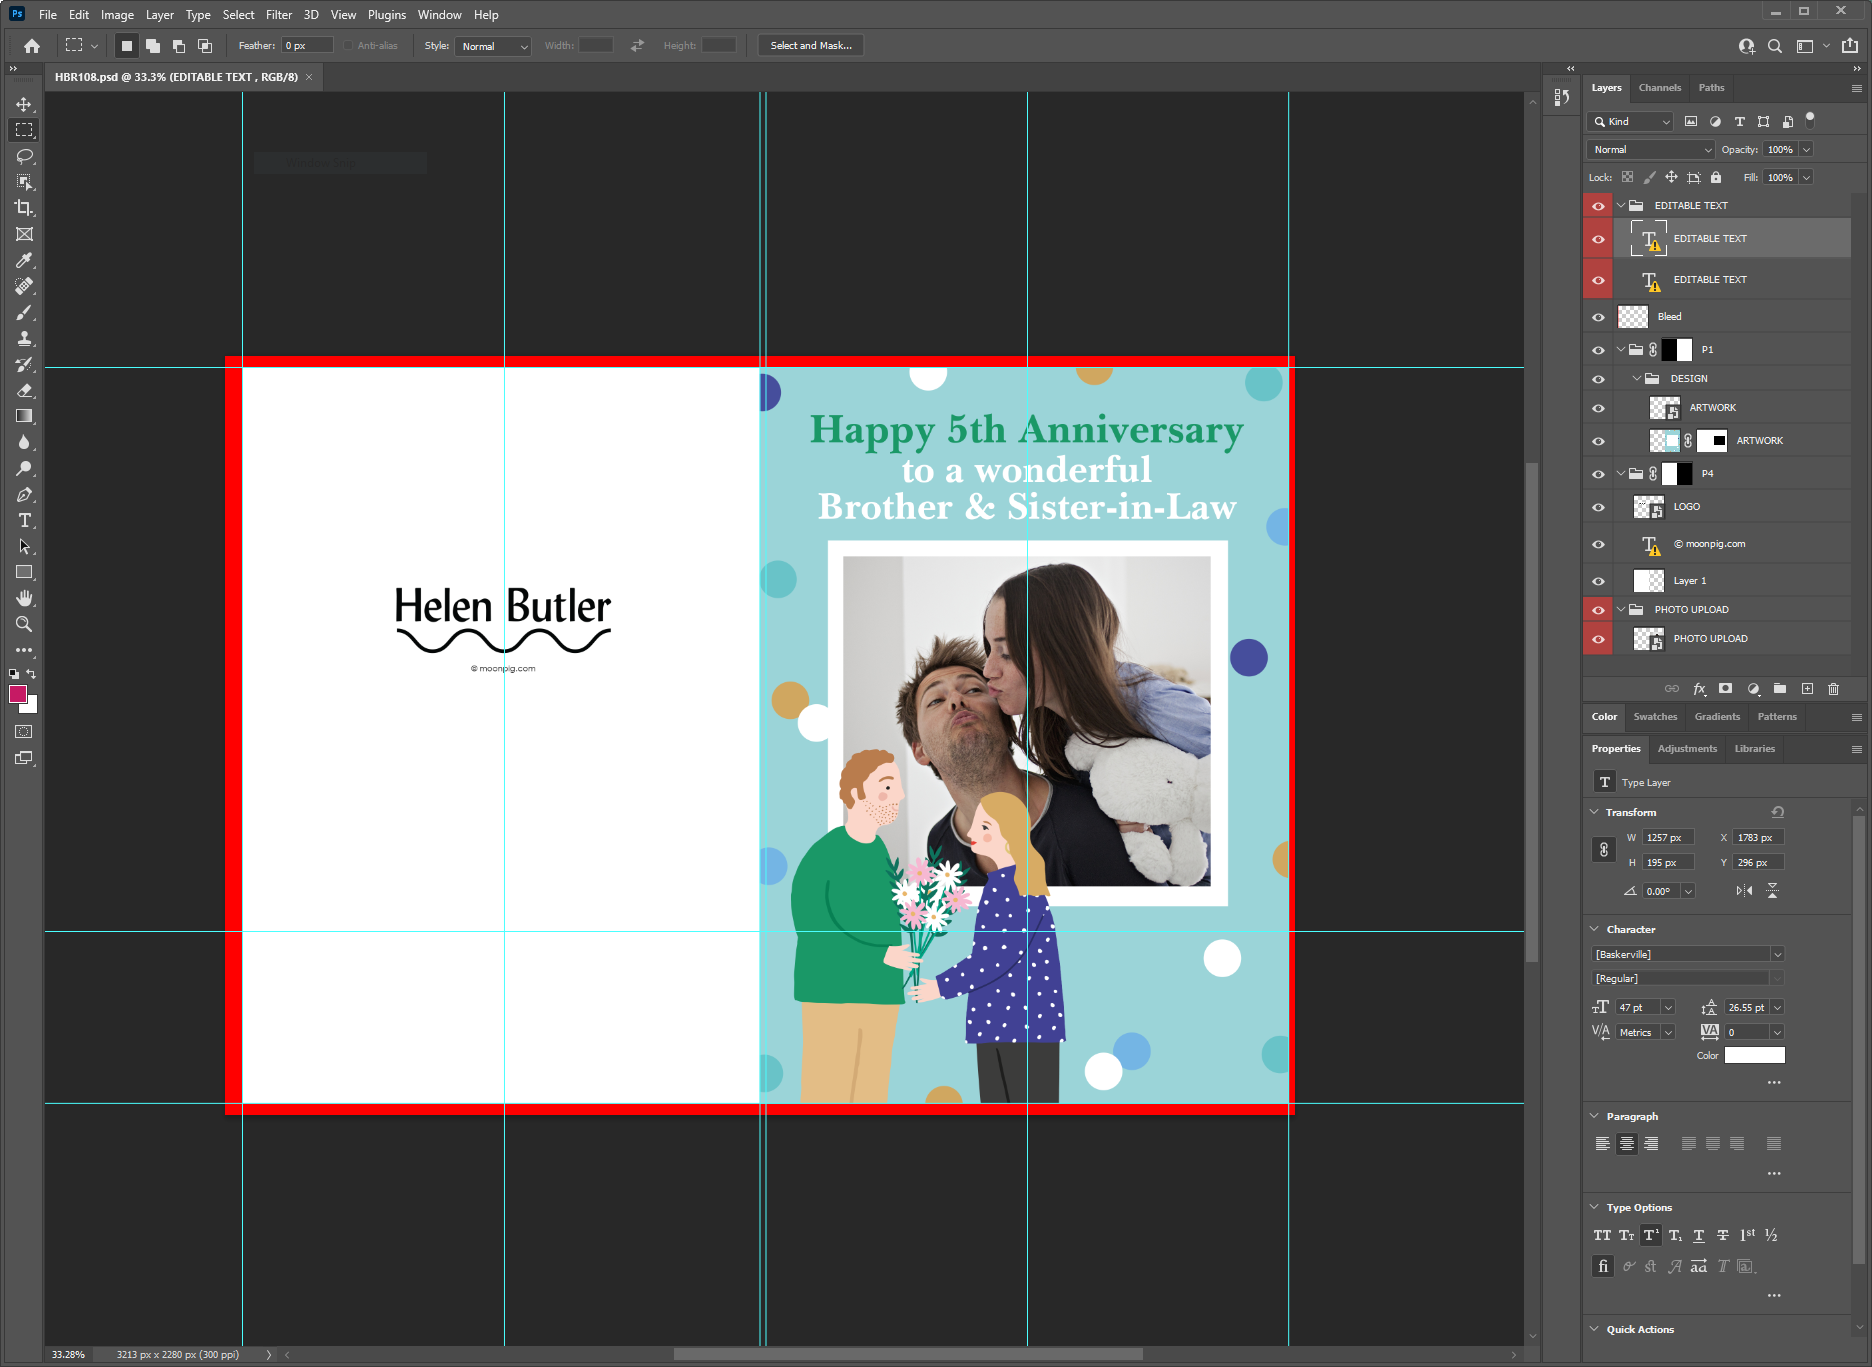
1. Beginning the process
The process begins by opening a card PSD file in photoshop, ensuring crop guides, bleeds, page size and such are all correct.
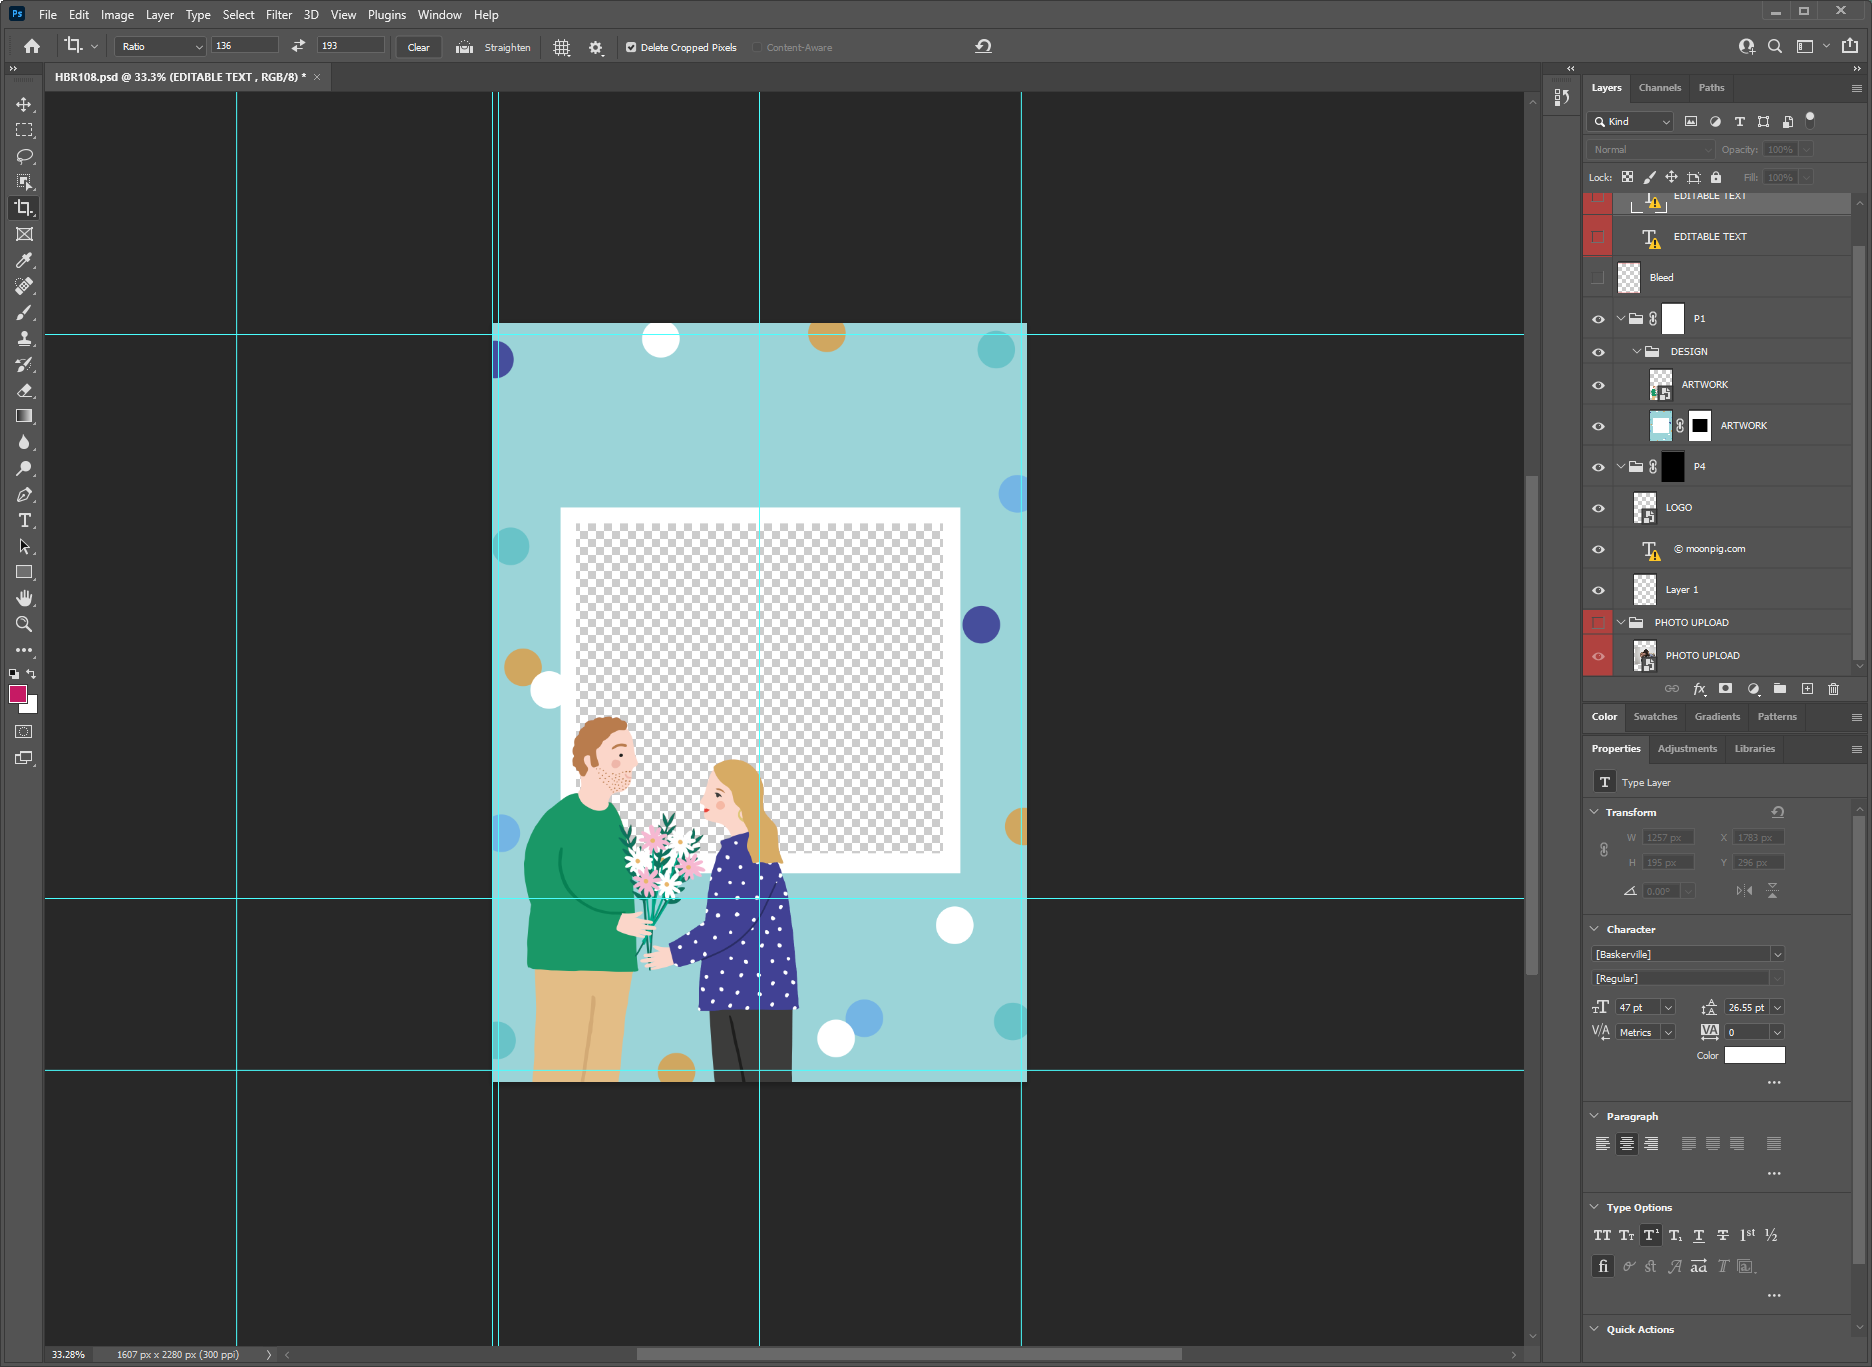
2. Seperating Layers
Once these things are in order the next step would be to seperate any stock images from card, save them as JPEG and the card as a PNG to preserve the transparent layer. Would also need to hide parts of the text which are to be editable.
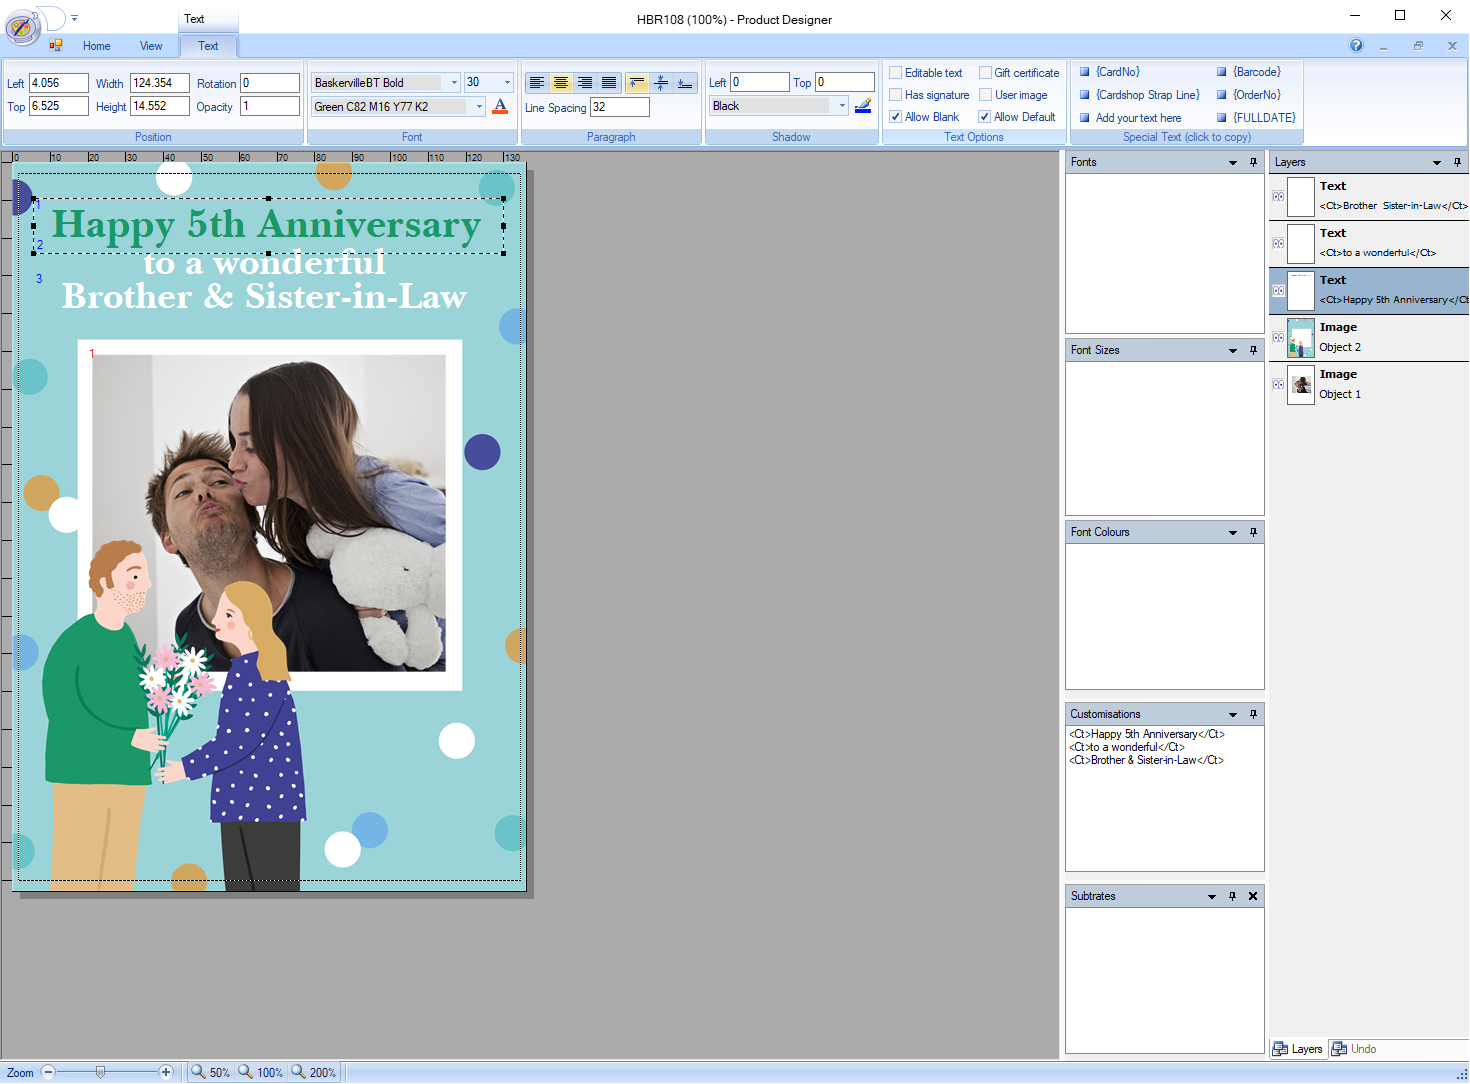
3. Product Designer
The next stage would be to open the card in Moonpigs custom program 'Product Designer' where I would need to ensure the size of the card is a whole number (136x193mm) and left/top bleeds are also correct. The text and images would then need to be re-added and made editable through the software.
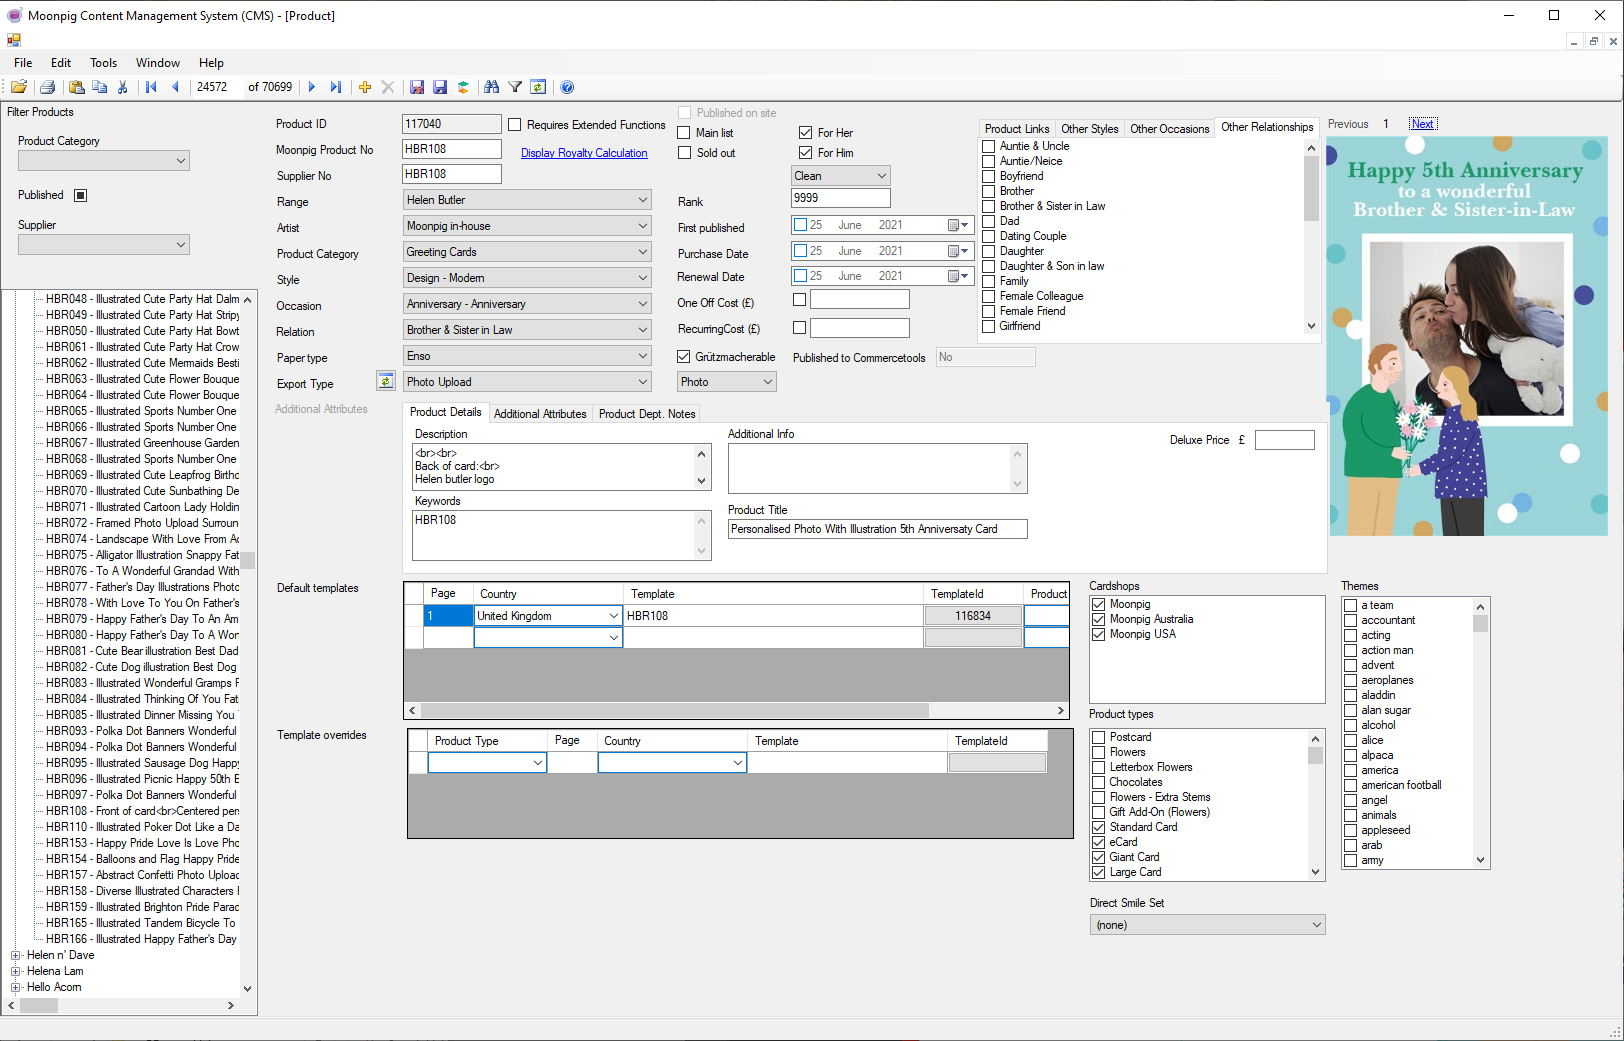
4. Content Management System
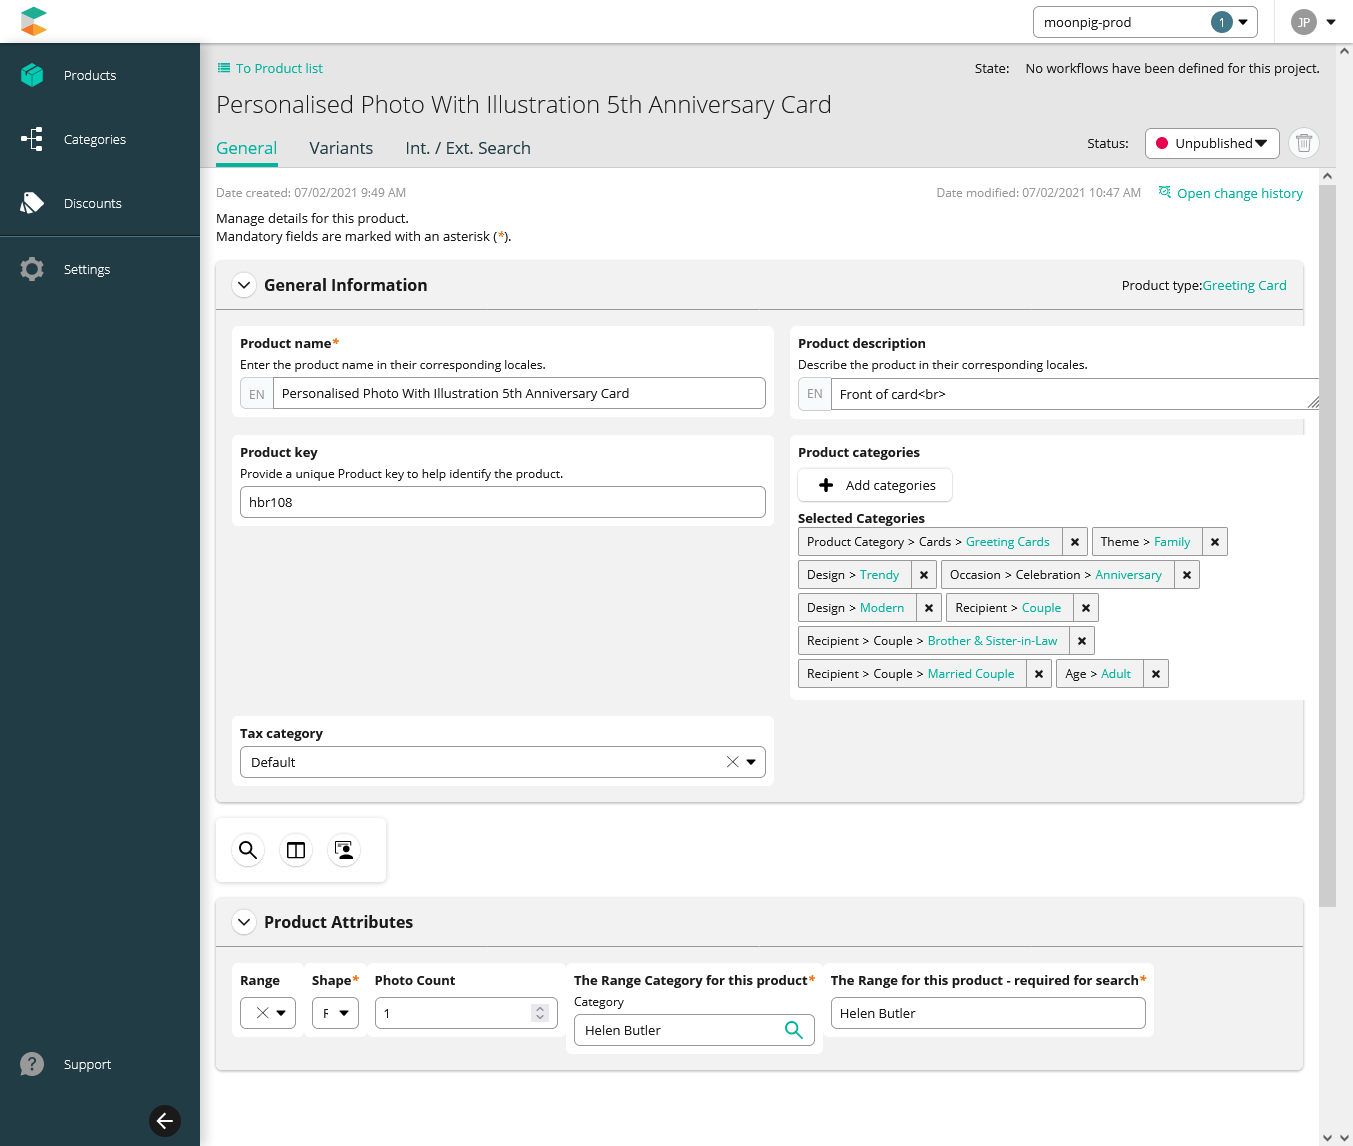
After everything has been made editable I would then open the file up in Moonpigs own CMS and input sorting information and details of the card.
5. Web Testing (Video)
Once saved I would need to test the product was all in order by going onto the website and inputing the card code then running through the custom card process through to adding to the basket.
6. Tagging
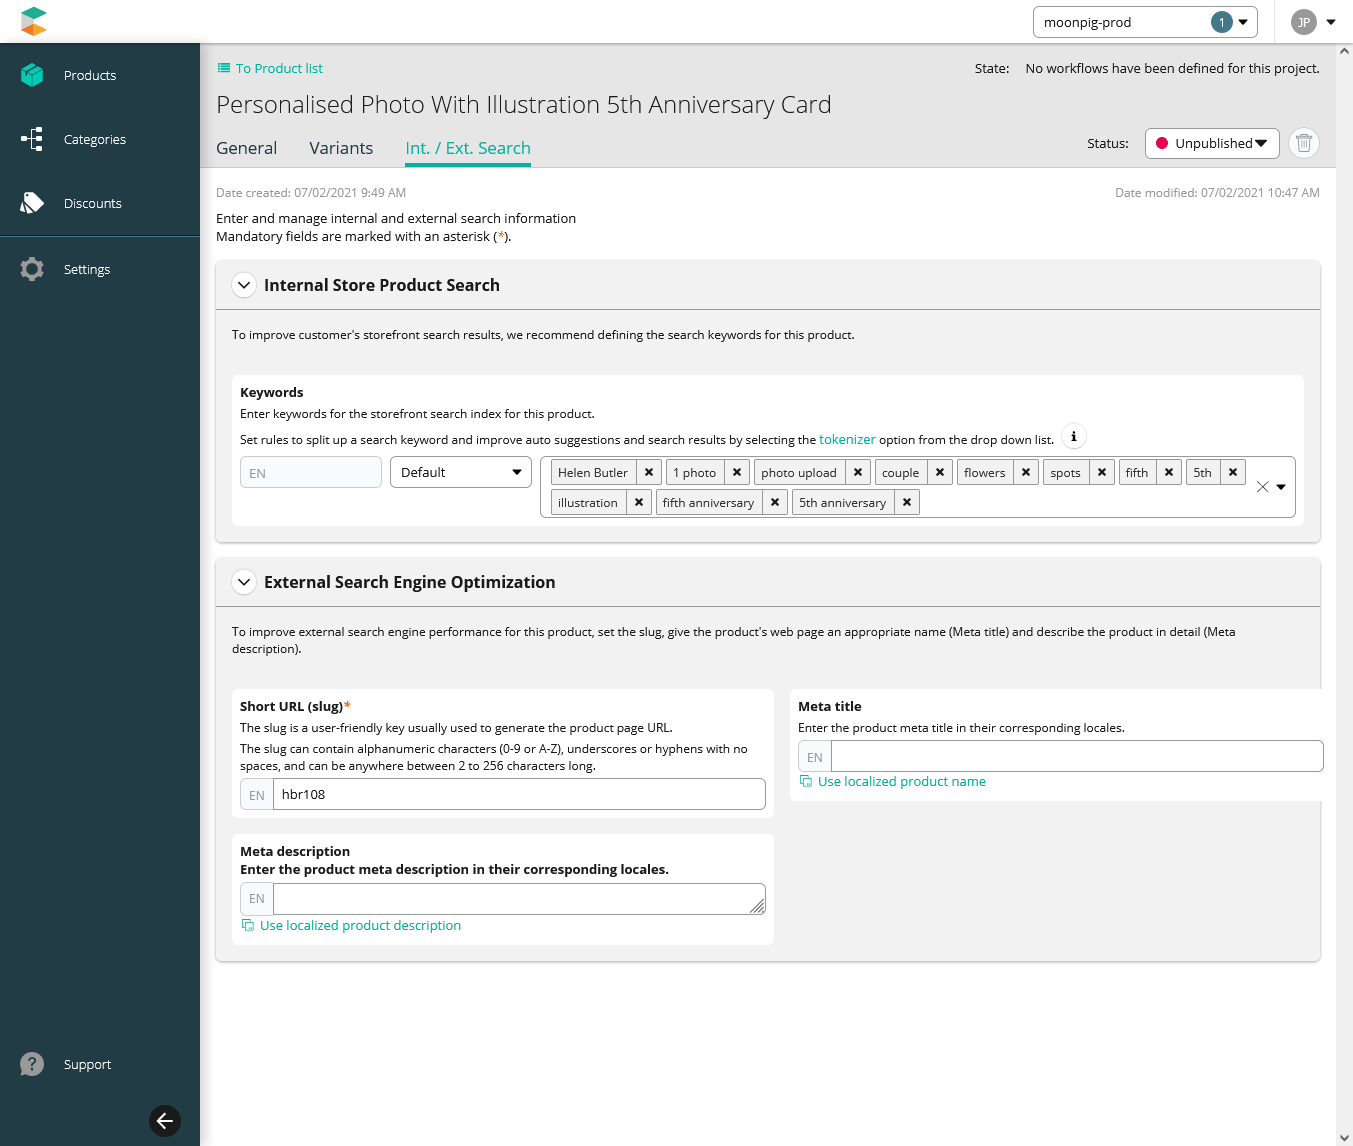
Finally would be a case of adding specific tag words so that the card can be searched for with applicable terms for each card.