MOONPIG GROUP (GREETZ)
While at Moonpig I worked with their sister company Greetz (based in Netherlands) doing a similar thing but with a different process, which is shown below.
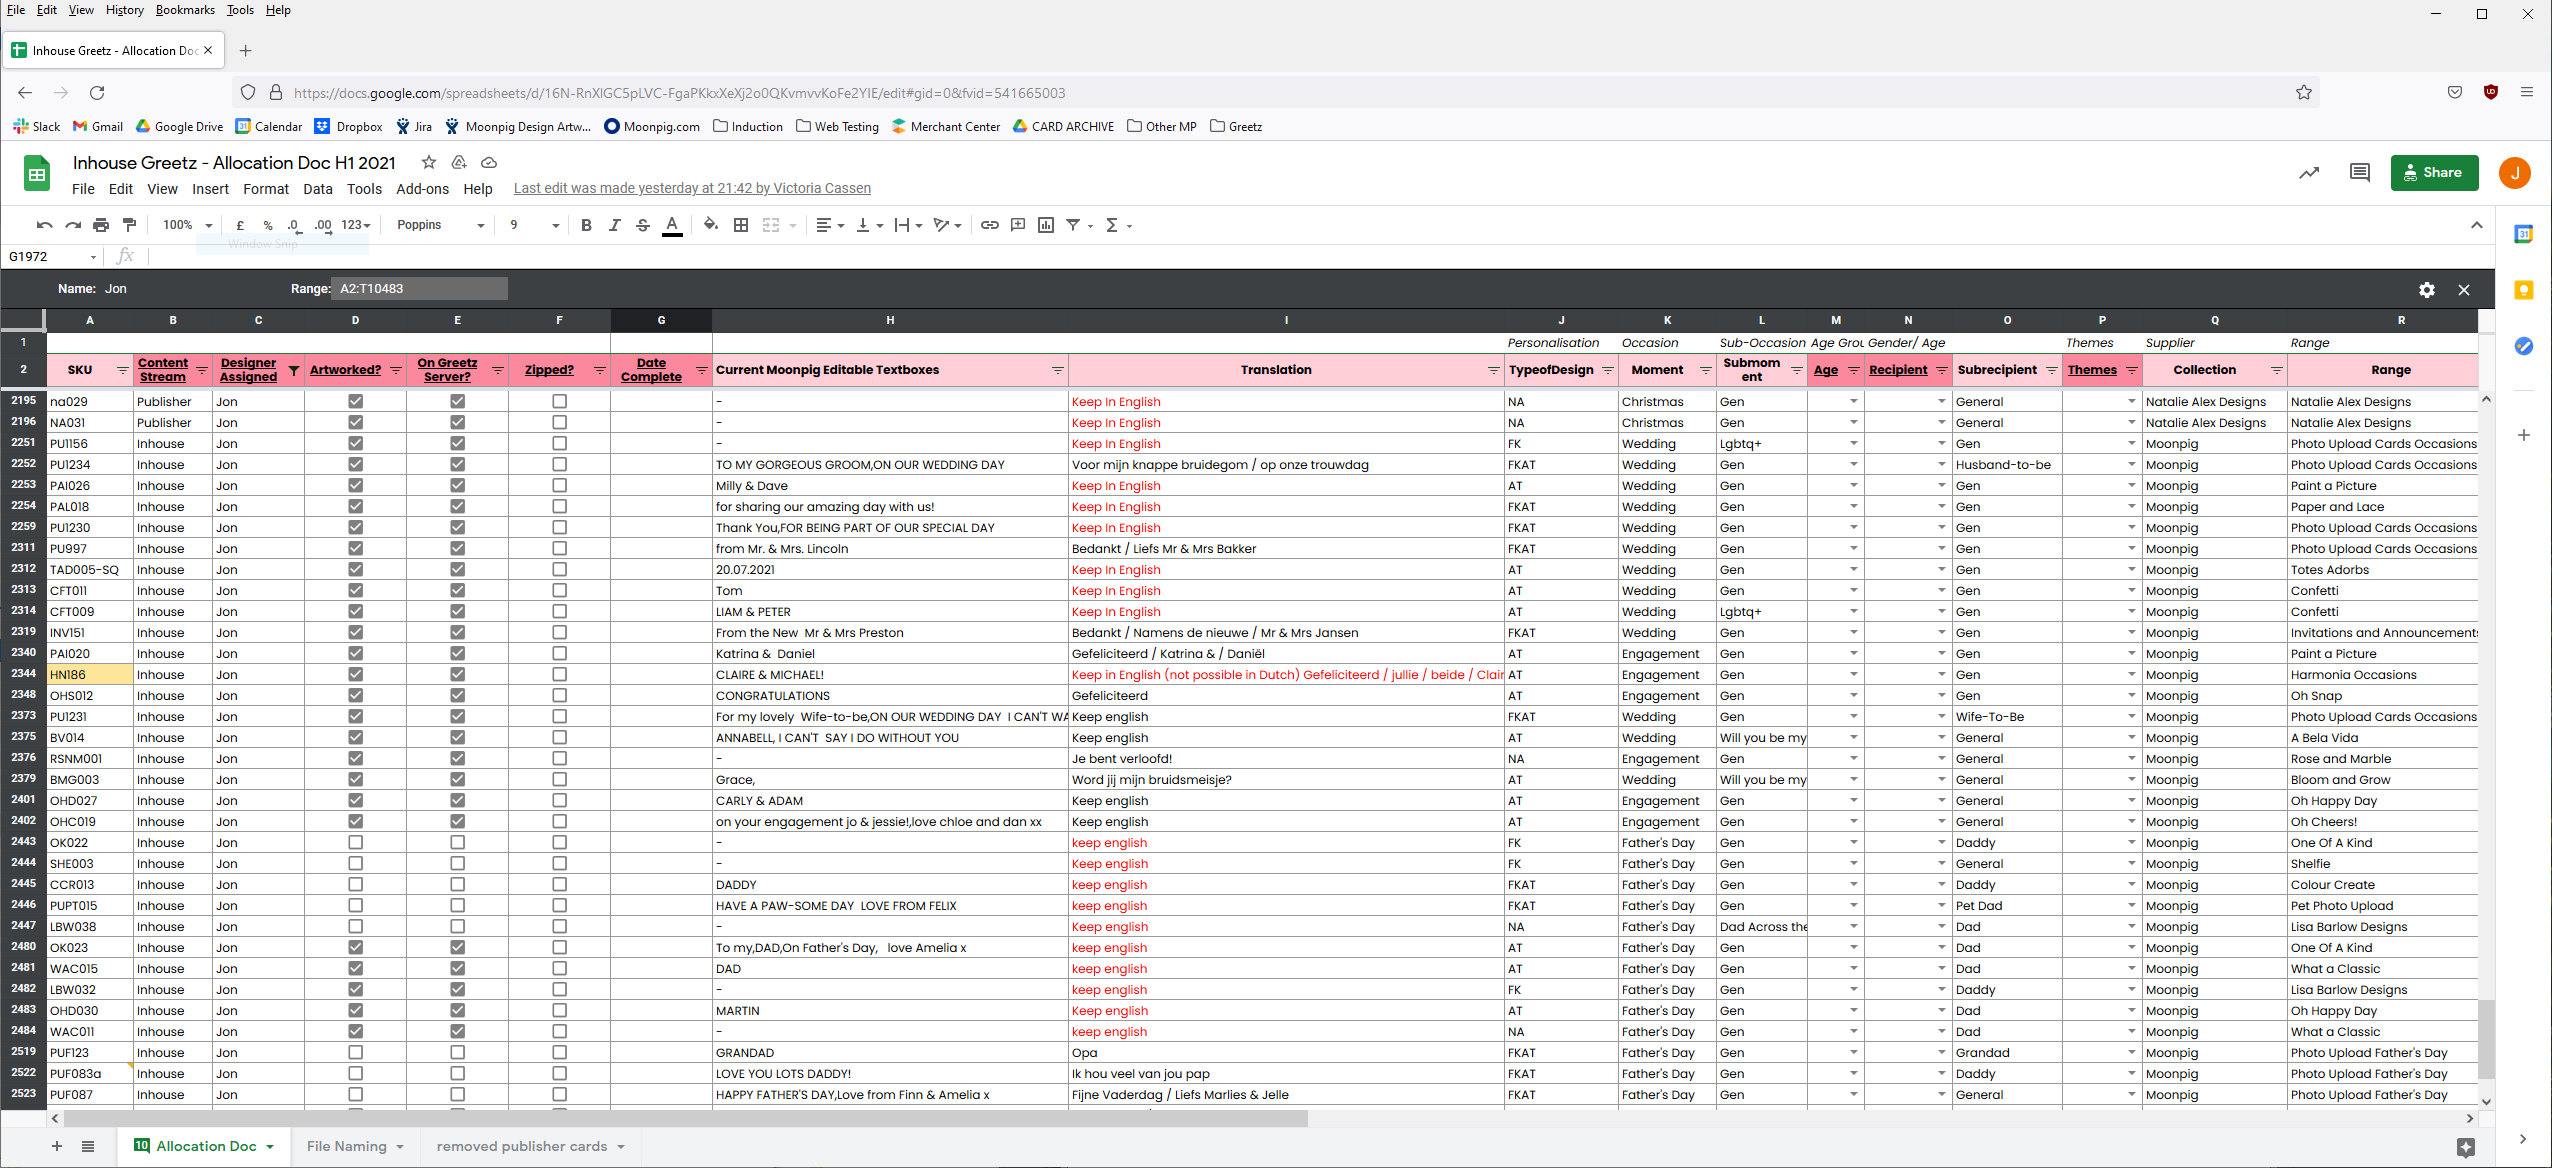
1. Beginning the process
I would check the online excel file to see what cards have been assigned to me.
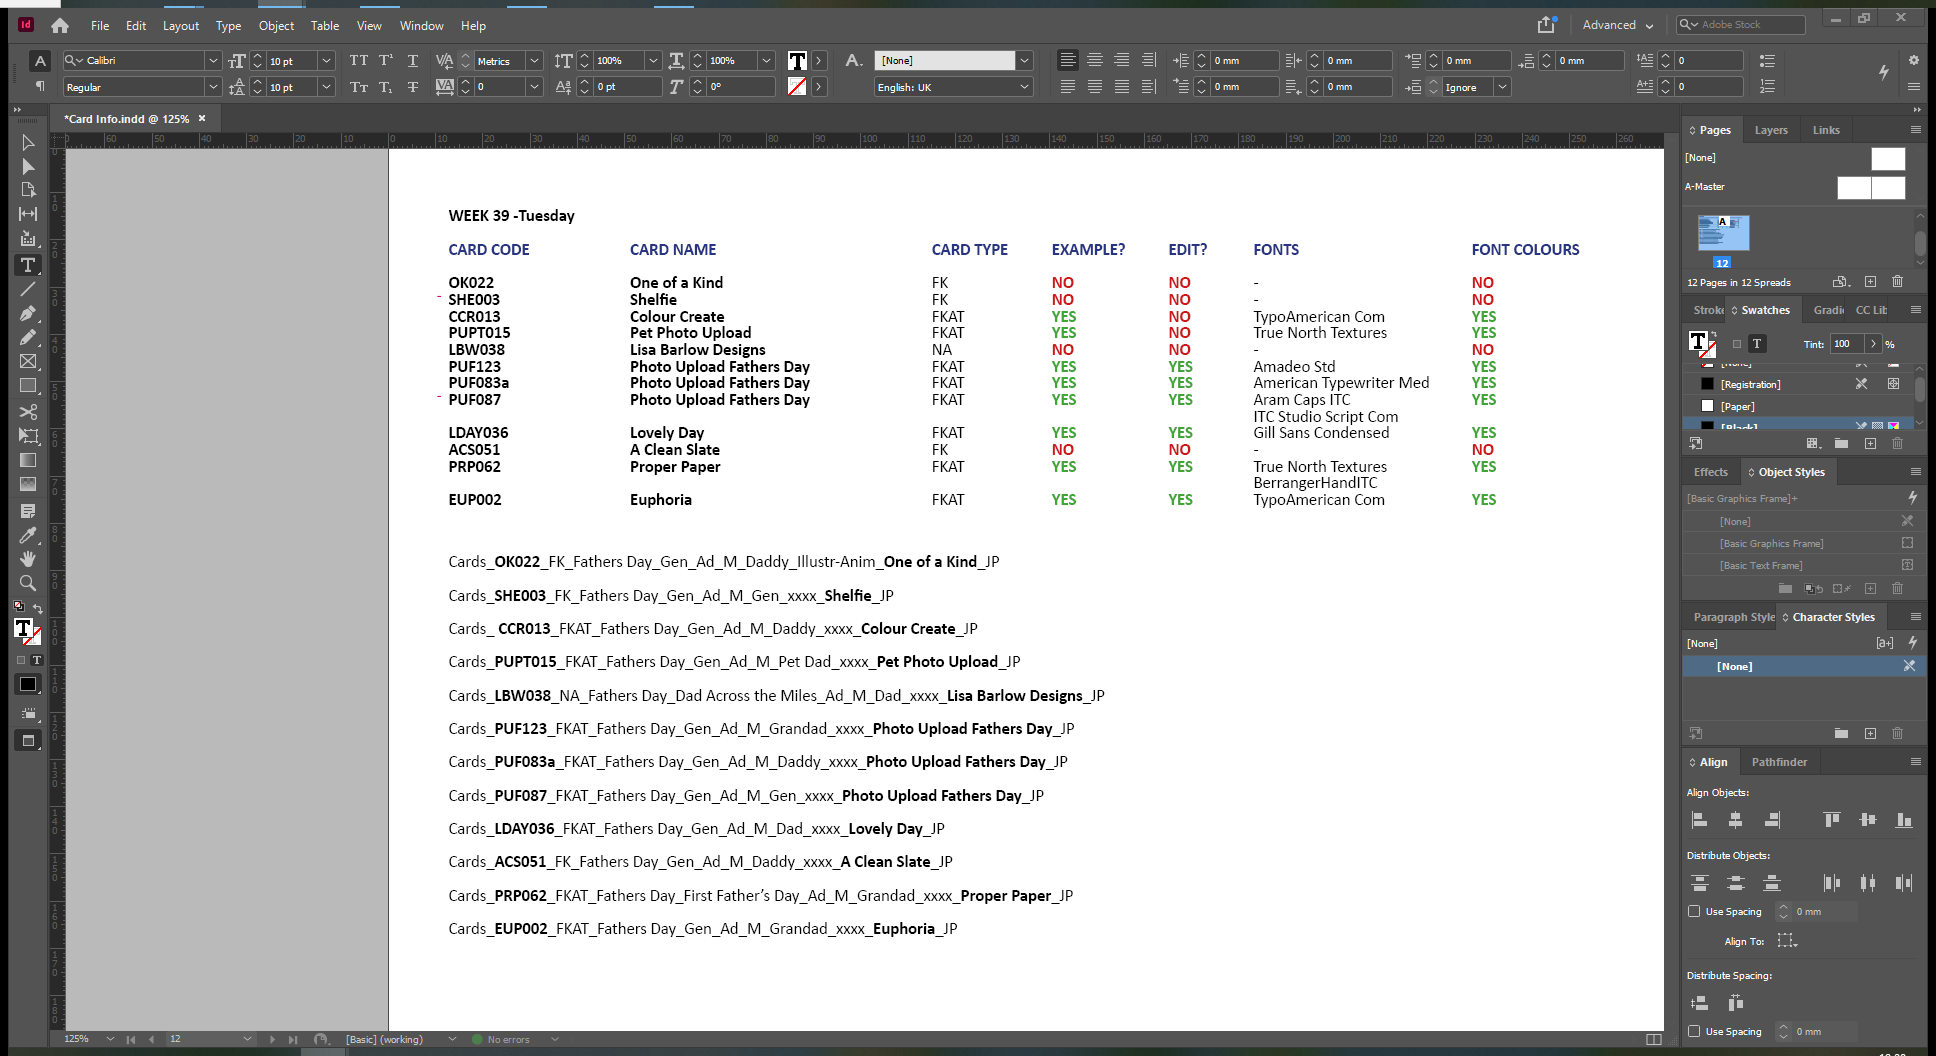
2. Organising Jobs
I personally organise the cards into an easy to read list comprising of :-
card code, Publisher name, the type of card it is, whether I would need to show an example of the card for the configurations team, whether I need to translate the card into dutch, fonts used for the editable parts of card and colour of said fonts.
There are 4 types of cards:
FK - Photo card
FKAT - Photo cards with adjustable text
AT - Adjustable text
NA - Non adjustable
The name of the cards will have to follow a naming convention with this information including gender and style of card design
3. Sourcing Files
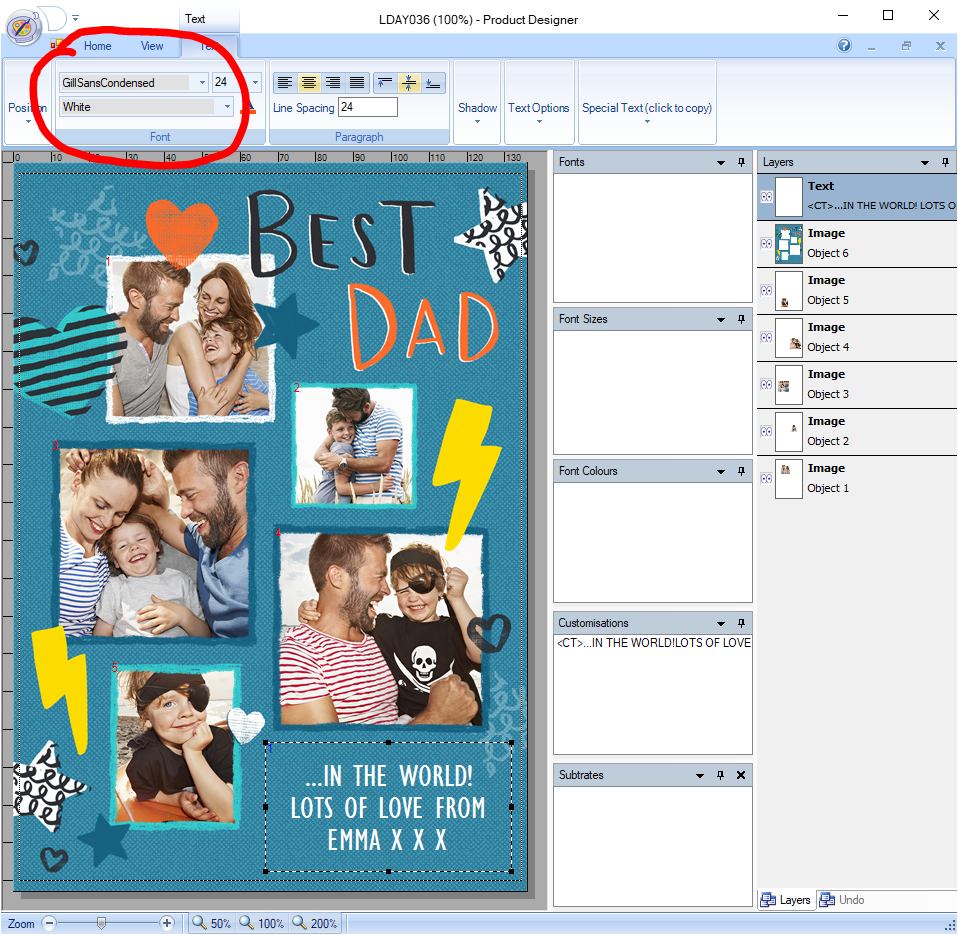
For any cards which have adjustable text (AT) I would need to locate the card on Moonpigs Product Designer app and source the font.
Once this is found for all cards I’d search Moonpigs card archive for the PSD’s of the cards aswell as the fonts needed and download.

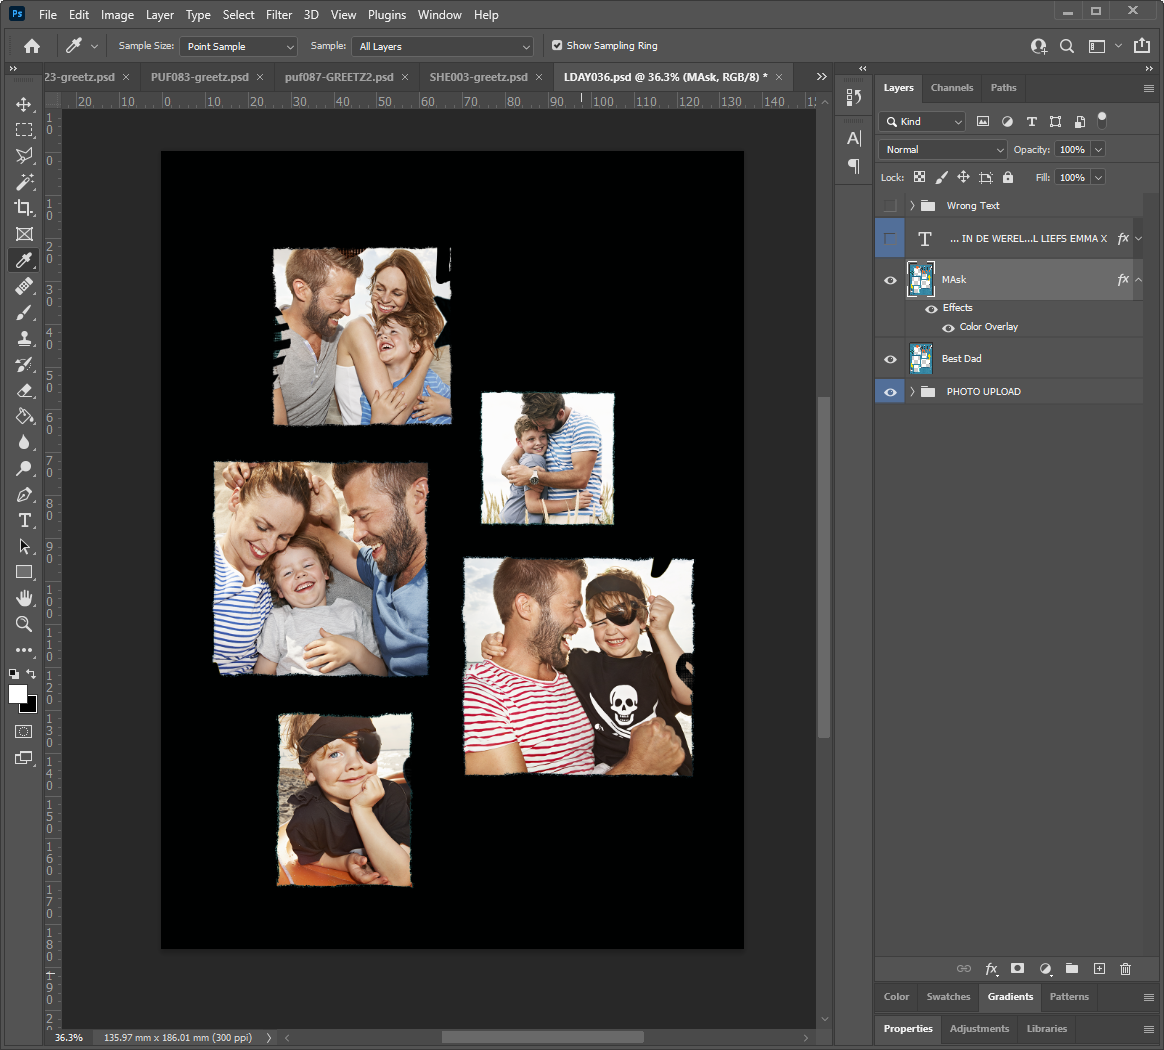
4. Photoshop
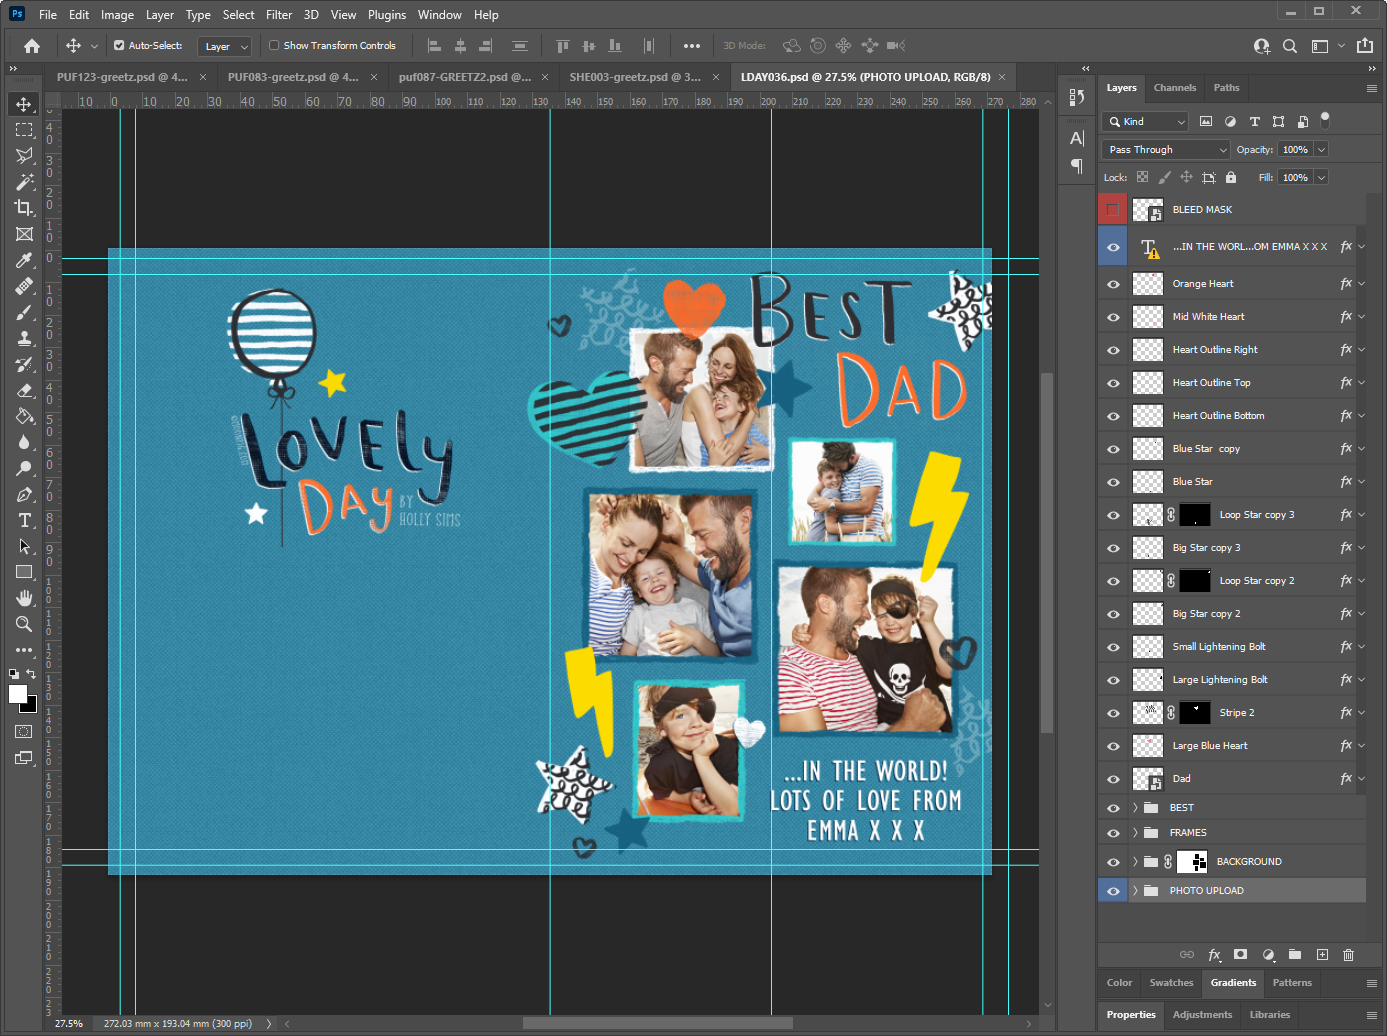
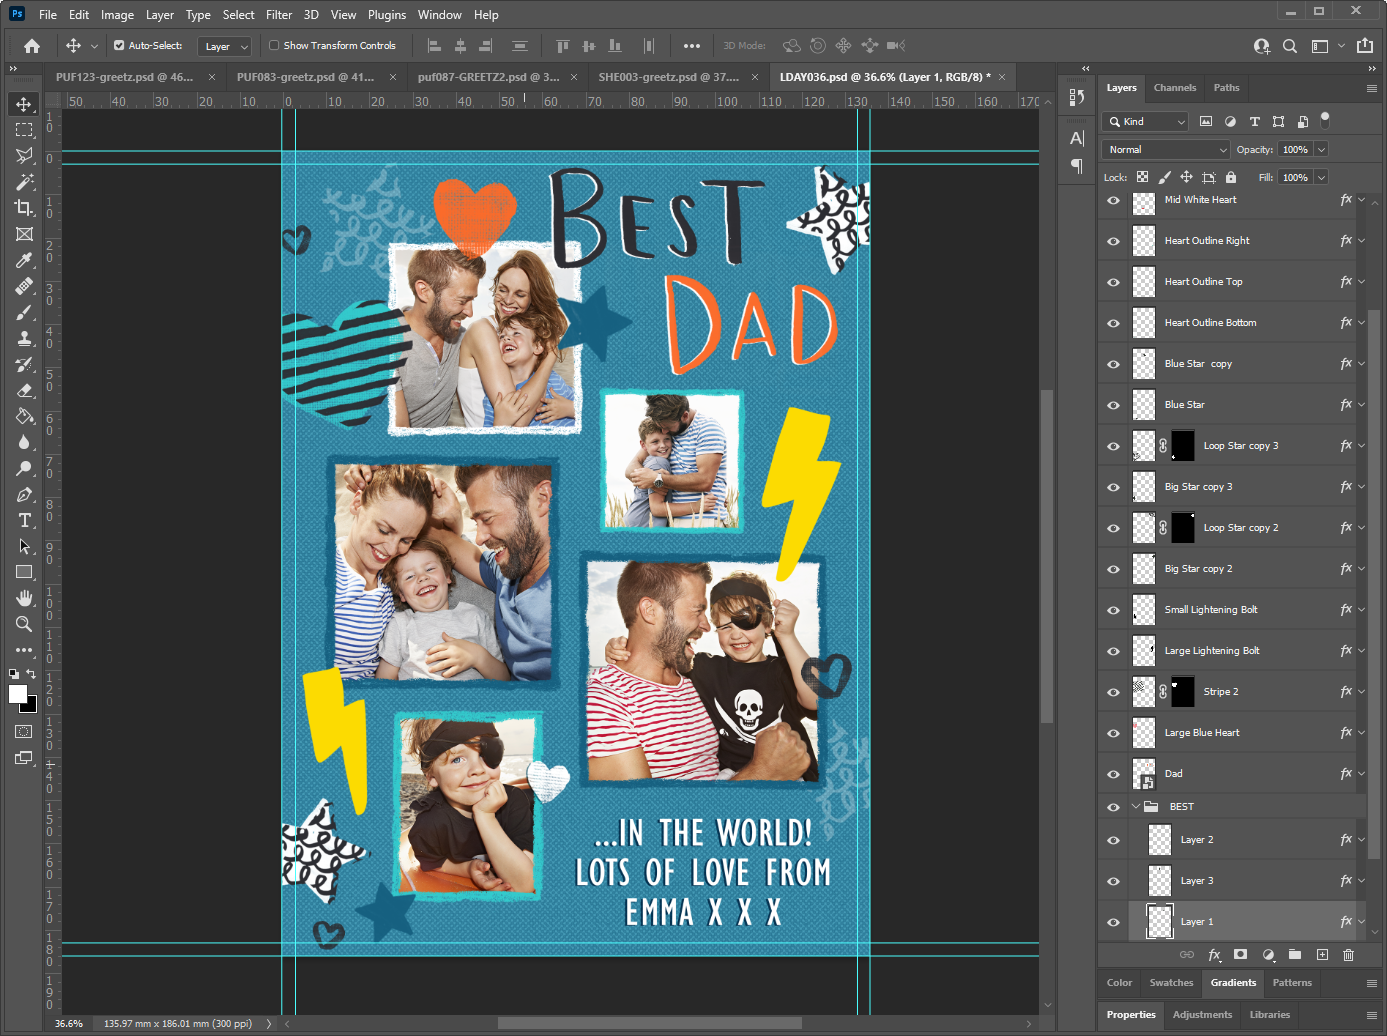
Next would be to open up the PSD file and resize the card canvas to 136x186mm or 136x136mm if a square card.
I'd make any adjustments such as aligning the design up to the centre, ensuring there was roughly a 6mm gap between the cards design and the edge of the card, make sure the photo image (if any) had a cut out background and, if need be, translating the text to Dutch.
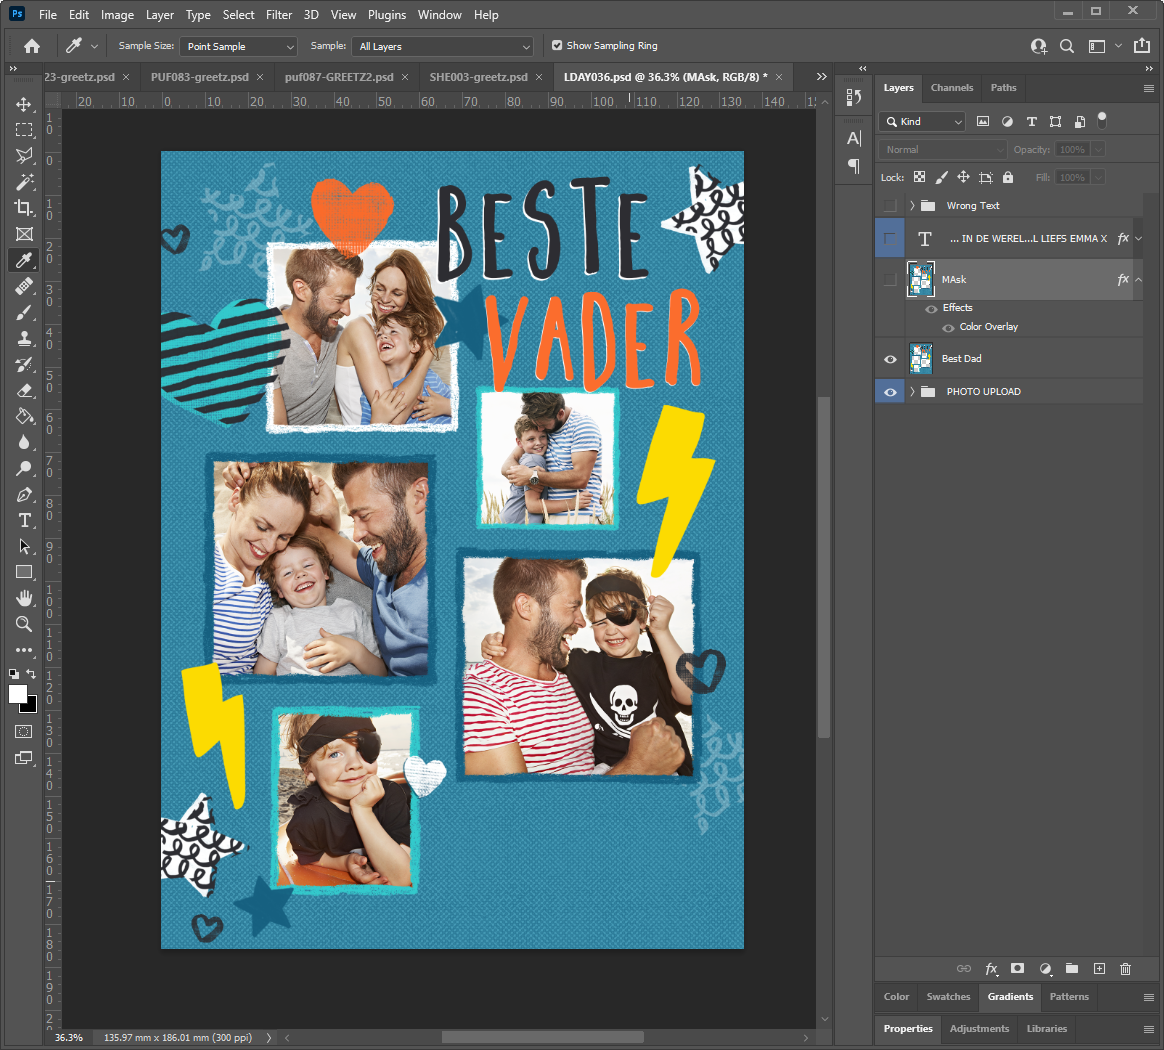
Once done I would hide the editable text layer as that will be added in by the configurations team later, then merge the design into one layer while also duplicating the design layer and turning it into a mask. So I would have 3 visible layers (for this example).
Save file with a different name.
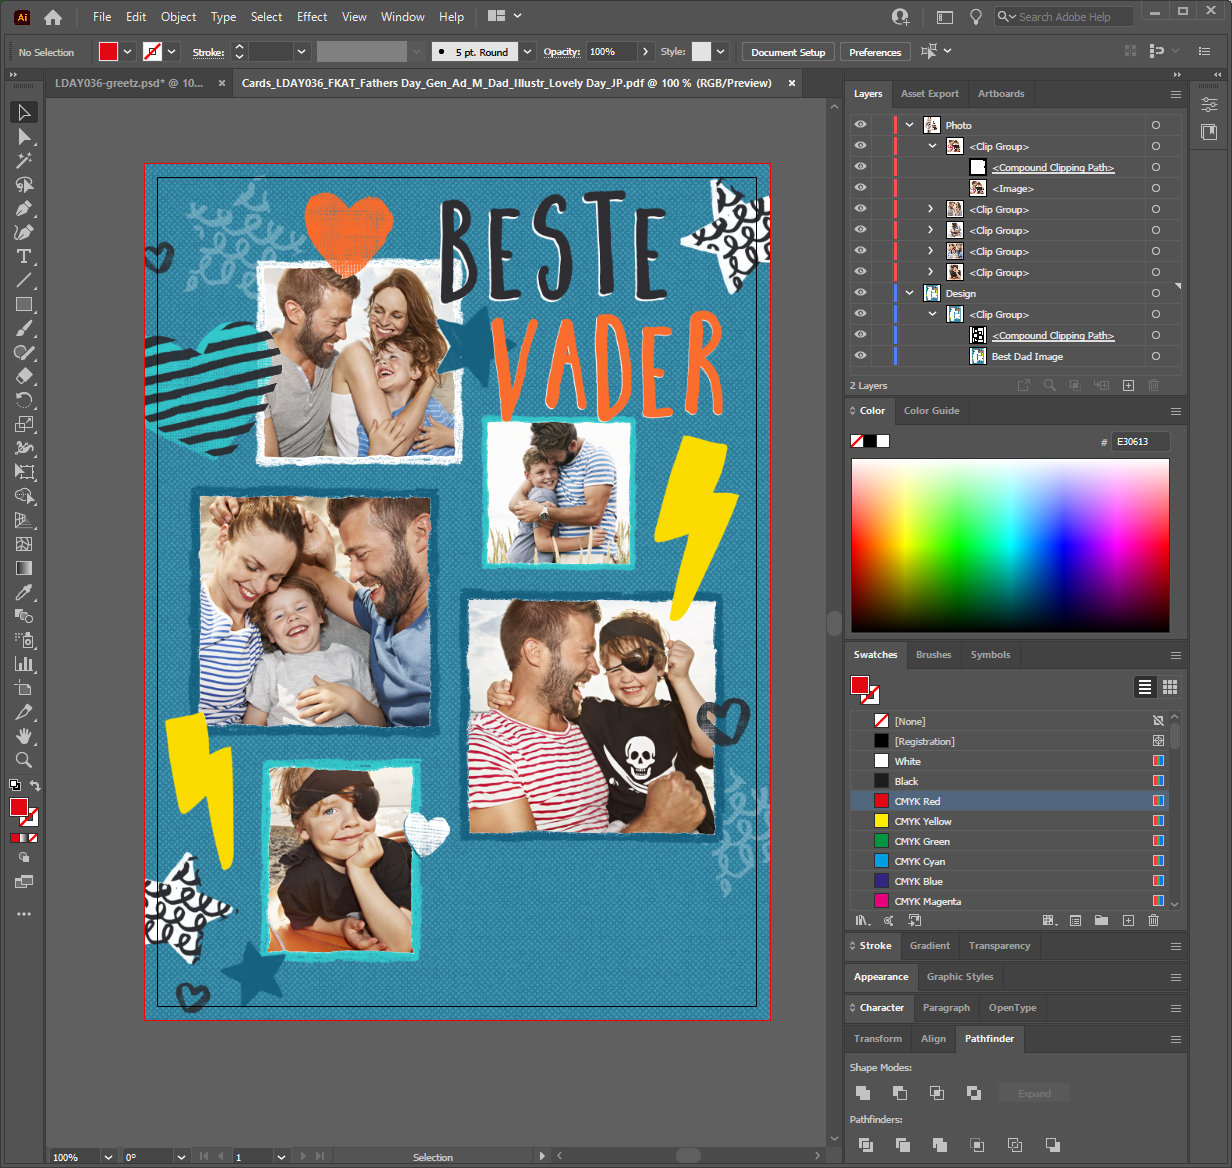
5. Illustrator
The file would then need to be opened in Illustrator and all layers copied into a template with a 3mm bleed. Files are then copied ensuring everything is the correct size and in the right position (as things tend to jump around). Photos would need to be rasterised and all visible imagery be put inside seperate clipping masks. Layers need to look as shown, labelled correctly.
Once done files are then saved using the naming convention defined earlier into a folder containing the ai file, pdf, font, font colour, an example (as needed) and then uploaded onto the system.
